Ford Mustang (1999-2004) Service Manual: Accelerator Cable - 4.6L (2V)
Removal and Installation
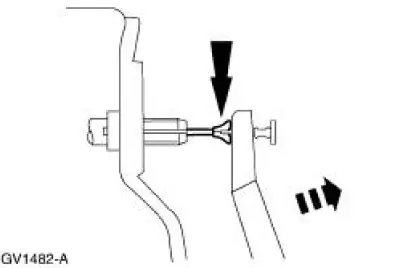
1. Push the accelerator cable nylon bushing out of the accelerator pedal and shaft arm.

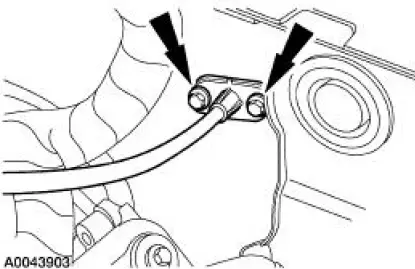
2. Remove the bolts retaining the accelerator cable to the dash panel.

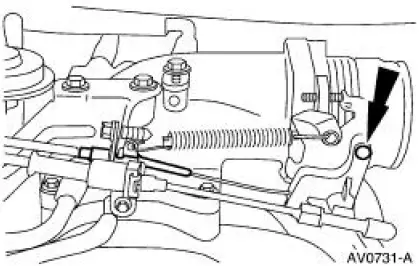
3. Disconnect the accelerator cable from the throttle body by rotating the throttle body full open and aligning the cable with the release slot.

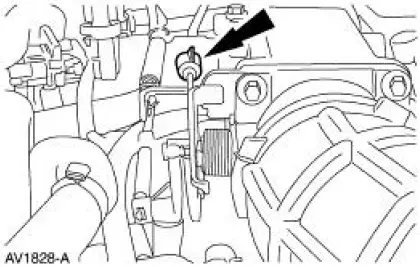
4. Disconnect the accelerator cable from the retaining bracket by compressing the locking tabs and back-feeding the cable through the bracket and out of the engine compartment.

5. To install, reverse the removal procedure.
 Accelerator Cable - 3.8L
Removal and Installation
1. Push the accelerator cable nylon bushing out of the accelerator pedal and
shaft arm.
2. Remove the bolts retaining the accelerator cable to the dash panel.
3. Disconne ...
 Accelerator Cable - Supercharged Engine
Removal and Installation
1. Push the accelerator cable nylon bushing out of the accelerator pedal and
shaft arm.
2. Disconnect the accelerator cable from the throttle cam.
3. Depress the tabs and ...
Other materials:
Mass Air Flow (MAF) Sensor - Mach I
Removal
CAUTION: The mass air flow (MAF) sensor hot wire sensing
element and housing are
calibrated as a unit and must be repaired as a complete assembly. Do not
damage the sensing
element (internal to housing) or possible failure to the mass air f ...
Changing the vehicle battery
WARNING: Batteries normally produce explosive gases which
can cause personal injury. Therefore, do not allow flames, sparks
or lighted substances to come near the battery. When working near the
battery, always shield your face and protect your eyes. Always pro ...
Steering Column (Description and Operation)
NOTE: All fasteners are important because they can affect the
performance of vital parts and systems.
Incorrect installation of the fasteners can result in major repair expenses.
They must be installed new
with fasteners of the same part number ...
